
Mastering Etsy Product Photography: Your Ultimate Guide
Etsy shop owners know the importance of stellar product photography. It’s not just a cherry-on-top; it’s pivotal. It can turn browsers into buyers or send potential customers clicking away. So, let’s delve into some Etsy product photography secrets to make your shop shine.
Understand the Basics
Your first step is understanding the basics of good photography. Utilizing natural light is the cornerstone of any great photo. It’s softer than the harsh, artificial light and gives a crisper, true-to-life image. Minimizing shadow using a reflector or a white board can dramatically improve your photo (
Ensuring a clean, clutter-free background is equally important. This draws attention to your product without any distracting elements. A white backdrop is perfect for a minimalist, professional look.
Opt for a tripod whenever possible to avoid blurry photos. Tripods can offer stability, allowing you to take clear images. Improvise with stacks of books or a sturdy table if you don’t have a tripod.
Master the Art of Styling
Set the Scene
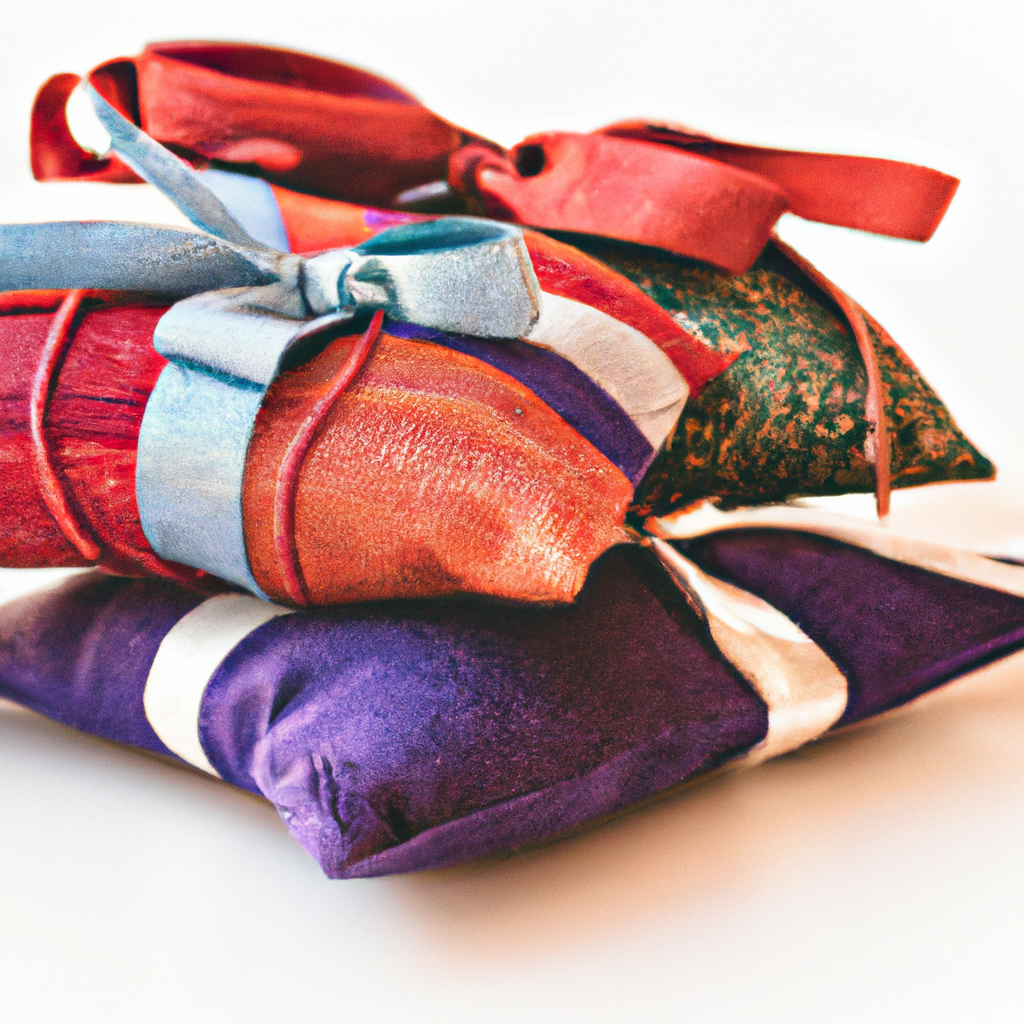
Think about your product and what kind of atmosphere or mood it resonates with. This is called contextual or lifestyle photography. It places the product within a setting where it’s used or gives a sense of the lifestyle associated with it. This provides customers an idea of the product’s size, use, and purpose (
Prop it Up
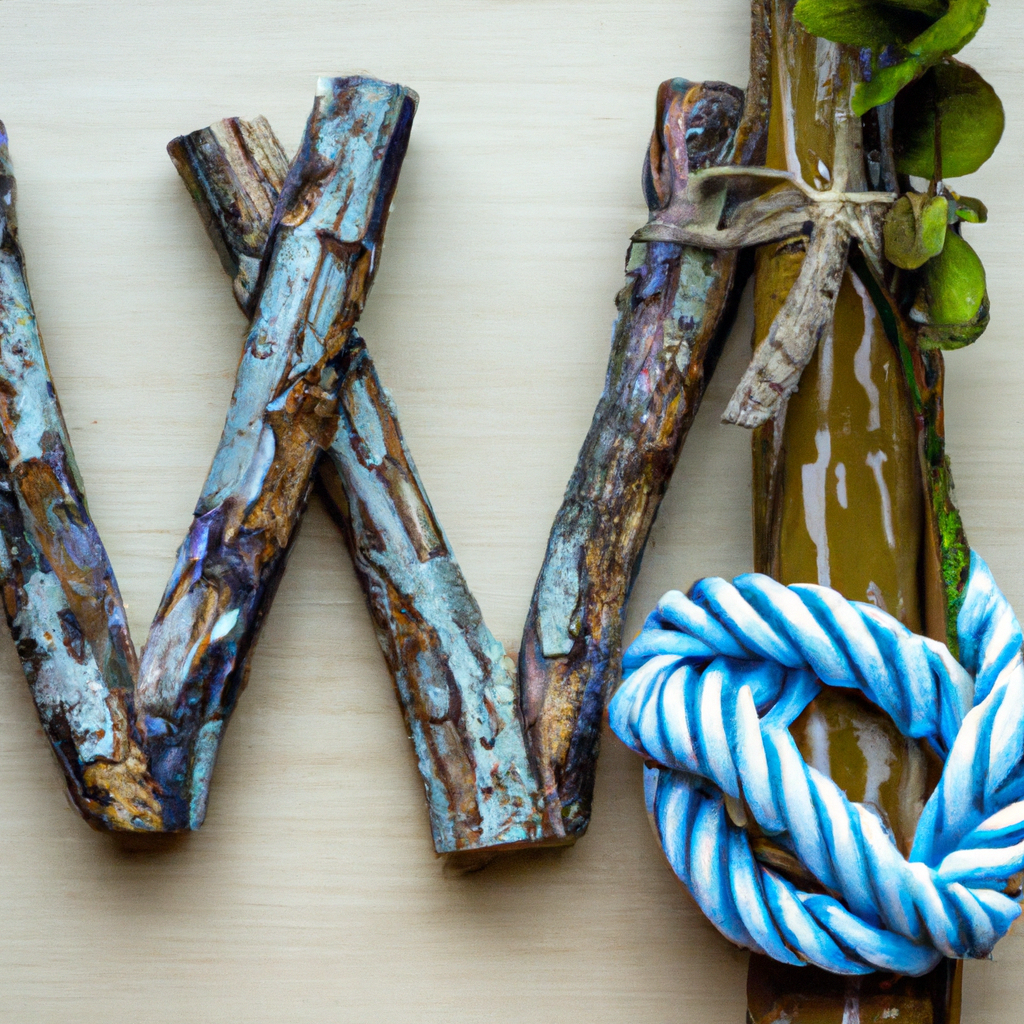
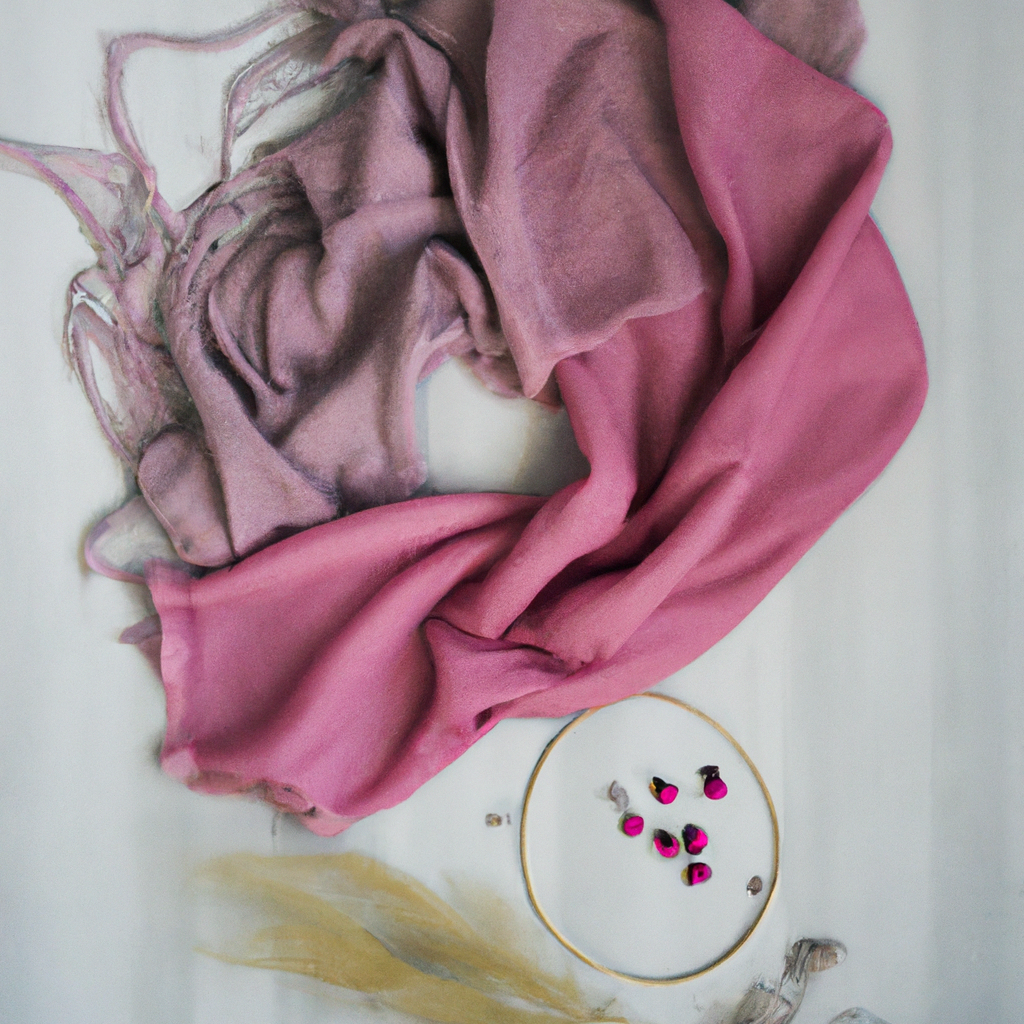
Props aren’t just for show. They can add depth, establish scale, and highlight product features. The trick is to choose the right props. Select items that complement your product without stealing the limelight. Make sure the props align with your brand’s aesthetic and the story you’re trying to tell.
Be Consistent
Establishing a recognizable brand identity is important on Etsy. Consistency is key. Choose a theme or style that harmonizes with your brand and stick to it. Consistent lighting, angles, colors, and cropping all contribute to creating a solid, identifiable image of your shop.
Editing and Final Touches
Once you’ve taken your shots, a little editing goes a long way. Use photo editing software to finetune brightness, contrast, and saturation. Tools such as Adobe Lightroom or free alternatives like GIMP or Canva offer user-friendly interfaces to get your photos perfectly polished.
Remember, over-editing can be detrimental. The aim is to enhance your photos, not make them appear unnatural. Keep your alterations minimal, ensuring the final product is a true representation of what customers will receive.
Utilize All Image Slots
Etsy allows for 10 images per item. Maximize this feature by showing your product from various angles, showcasing its use, highlighting unique features and details. Including a reference item for scale can be beneficial too (

Conclusion
You don’t need a high-dollar camera or a studio of professional lighting to get great product photos for Etsy. It’s more about understanding what resonates with your audience. Remember, aim for clear shots with good lighting, a clean background and ensure your photos accurately represent your products. Use varying angles and details, and don’t forget to work on creating a consistent brand image.
That’s not to say you shouldn’t upgrade as your business grows. A quality camera, professional software, and lighting equipment can help save time and elevate your images. But the crux lies in the secrets we discussed: the basics of photography, styling and presentation, consistency, smart editing, and making the most out of Etsy’s platform.
Remember, your product photos are the first impression for the online buyer. Make sure they’re good ones. With a bit of practice and these secrets under your belt, you’re well on your way to mastering Etsy product photography.